DIY made easy.

Archive for November, 2012

Winter Nails

Needing a break from writing papers, I stared at my ugly nails. The winter weather had made them brittle and my skin dry.

Image

I decided to jazz them up a bit after seeing some fun designs on pinterest. This pin, specifically, was my inspiration for what I did.

Because I have limited nail polish colors, I decided to go a little more subtle which is more my style. First I used two coats of Sally Hansen: Pedal to the Metal nail polish.

Image

After my nails had fully dried, I used a toothpick and put a dab of white nail polish on a piece of paper. I dipped the tip in and slowly drew the shape of the snowflake on my nails. To avoid having the same snowflake on every nail, I rotated the snowflake on each nail. Pretty simple? Yep, until you start drawing snowflakes with the hand you don’t write with! Those snowflakes were a little more wiggly. They still look nice though. 🙂

Image

Finally, I sealed my nails with Sally Hanson: Disco Ball nail polish which is clear with subtle glitter for a nice sparkle. Here are the results!

Image

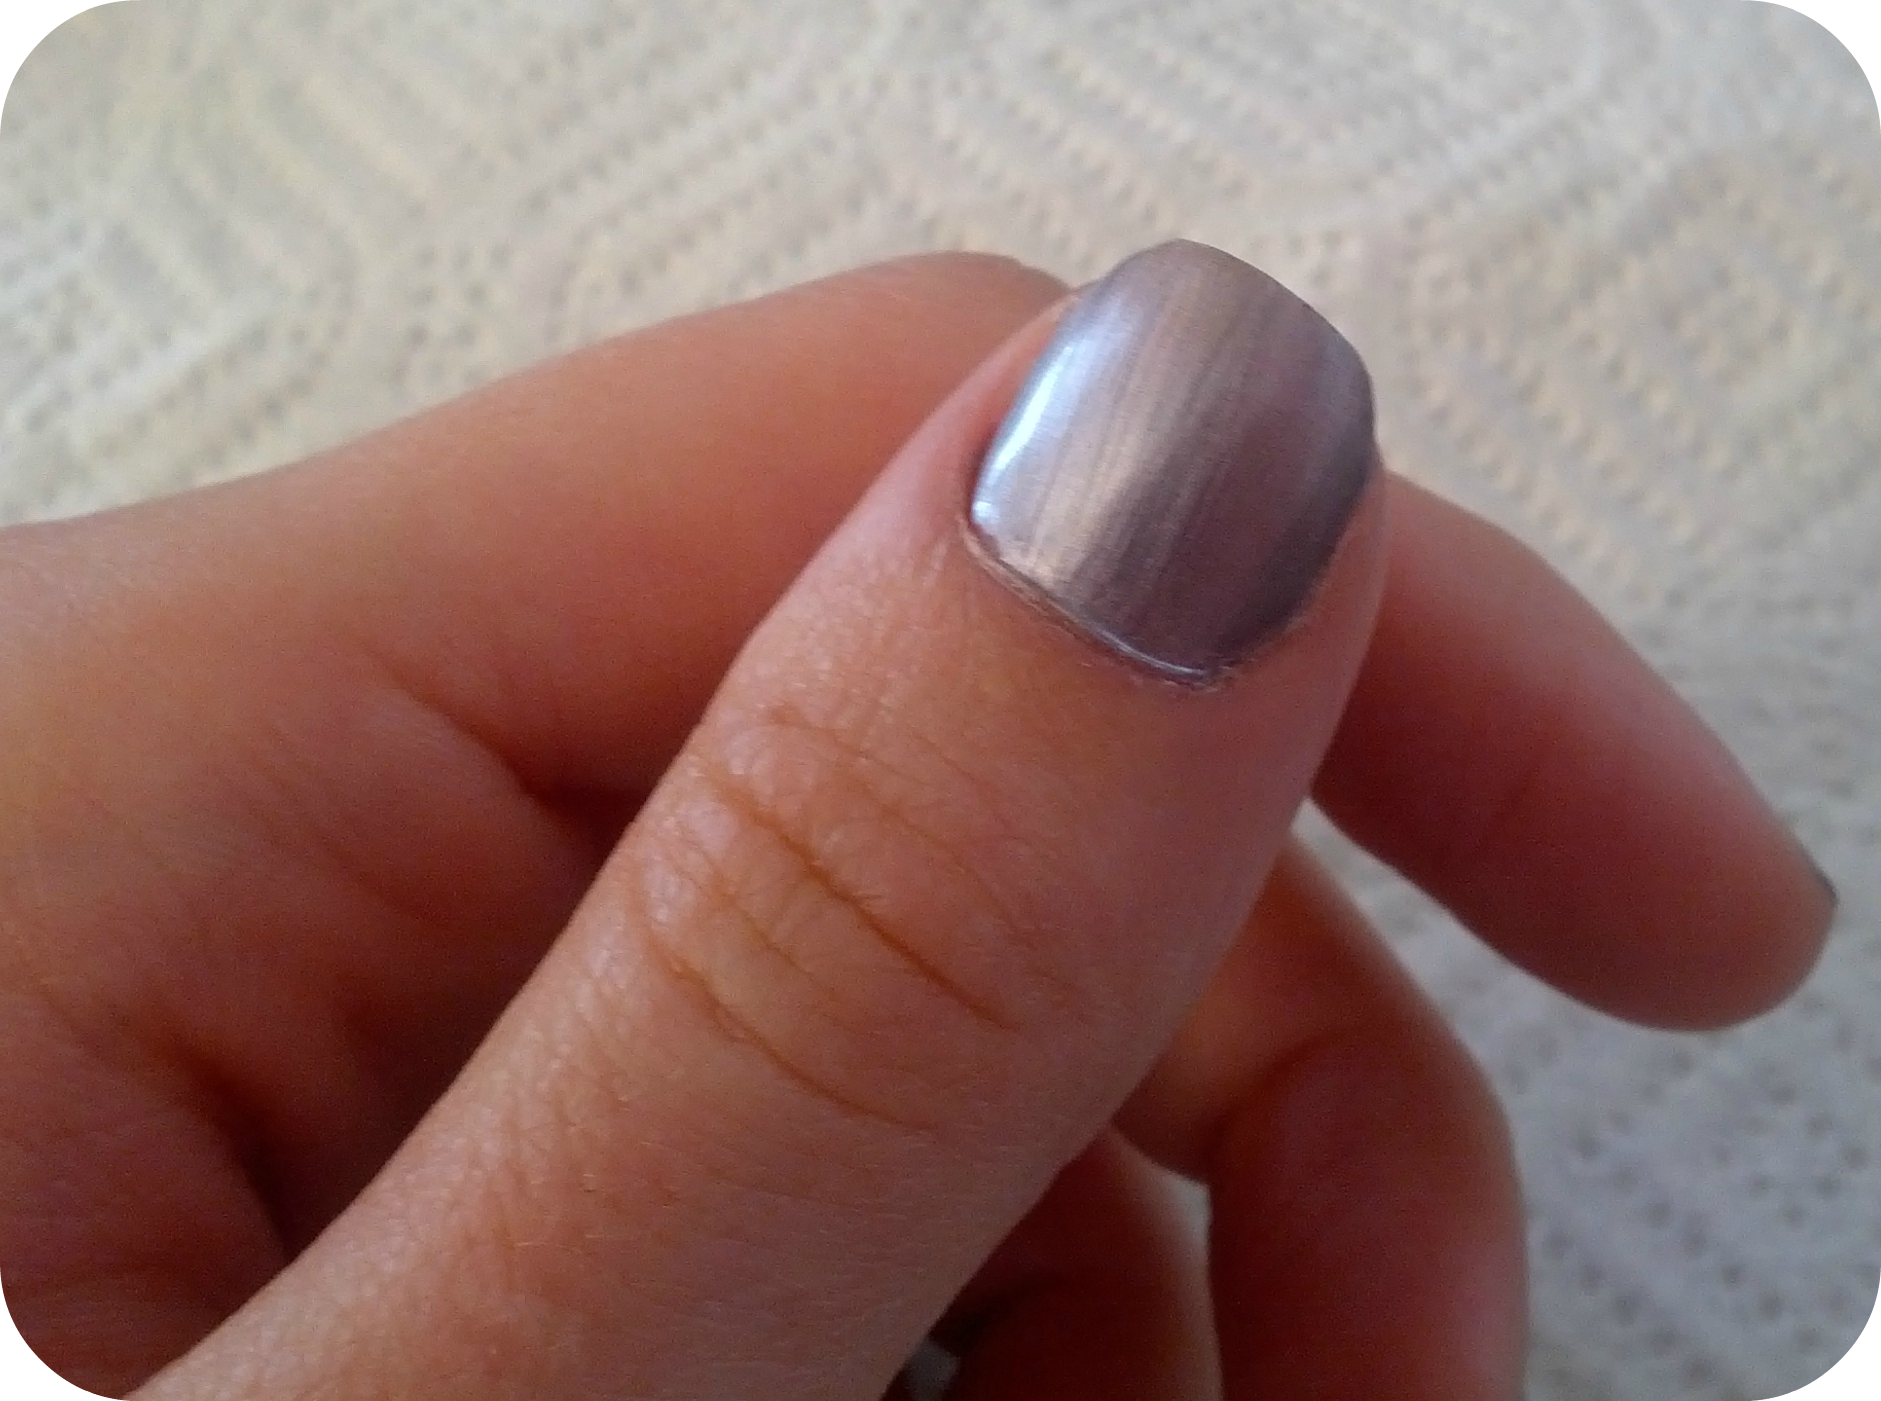
For a clearer look at my thumb:

Image

Lots of fun! Just be aware that your snowflakes will take longer to dry since the nail polish ends up a little thicker when applying with a toothpick. Good luck!

Old Sweater to New Cardigan

Today I found a pin that lead me to the blog “Easily Dunn.” There she showed her readers how to take an old shirt and turn it into a cardigan. What an awesome idea! I had to try it. I had the perfect sweater in the drawer that I had received as a Christmas present years prior. It was two sizes to big for me but it was a pretty color and soft. Problem was that it was a knit sweater. How was I going to cut up something that might unravel? Well I figured I would jump over that bridge when I got to it. The best part about this tutorial? No sewing machine needed! Sorry for the grainy photos. The lighting is not the best in my husbands office.

Tools you will need:

  • Scissors
  • An old shirt
  • Hem Tape
  • Buttons (optional)
  • Needle and Thread (also optional)

Here is my Sweater before:

Image

Mighty unflattering eh? 

I laid it out on the floor to be butchered and no, you don’t need a hot glue gun. That was from another project. 🙂

Image


Then I cut a strip down the center of the sweater.

Image

Next, I figured out where wanted my hem and placed the hem tape there.

Image

Peel and fold the hem over. Press. (I used sticky hem tape because I cannot iron my sweater fabric but you can use iron hem tape.) Do the same on the other side.

So here I ended up having an open gap where I cut the collar. I placed another piece of hem tape in there. 

Image

I could have been done right there, but I decided to add some buttons. I jazzed them up with some red thread. 

Image

Here is the final product. Pretty stinking simple huh?

Image

Note to self: Clean dusty mirror. 

I had fun with this one. I am not sure how I feel about the collar of the shirt but I think I might try to stiffen it a little so it doesn’t flop around. I will certainly try a cotton shirt soon because the thickness of the sweater was somewhat difficult to work with. I think a cotton shirt would turn out even better. 😀 

Super Simple Wedding Favors

When my husband and I were planning for our wedding, we were on a strict budget. When it came to giving wedding favors, I didn’t want people to walk away with crap. (You all know what I mean.) I wanted to give them something they could use, not something that would be tossed in a drawer, never to be seen again. So, after some searching, I decided that I wanted to do something with honey. Finally a few weeks before the wedding I ordered honey sticks from http://www.betterbee.com Since our theme was purple and white I added honey as similar as possible. We bought a few hundred sticks of honey knowing that every guest would get a few of them in a bundle. It took only a few days for them to arrive on my door step. As I gathered them together, I placed a tiny hair rubber band around each bundle and stacked them because I knew I wanted to tie ribbon to them. I knew without the rubber band the ribbon would slide right off. I cut tons of ribbon and went to Office Max and had little tags made. Here was the finished product!!! It only cost a few cents per guest to put these together!

Thanks to my friend Alexandra who Instagramed this! 

Image


I was in super DIY mode for our wedding and threw bows on everything. Knowing that it was going to be super hot in July, my mother and I picked up wooden fans at Michaels and I used leftover ribbon for streamers. I also added the bows to the bubbles. 

Image

Image 

Image

Needless to say, my fingers were sore after all of those bows. I hope I have inspired some of you ladies about to be married!